Efficient parameter exploration on generative art
Getting an idea is simple.
Finding the right of parameters to make it look good is hard.
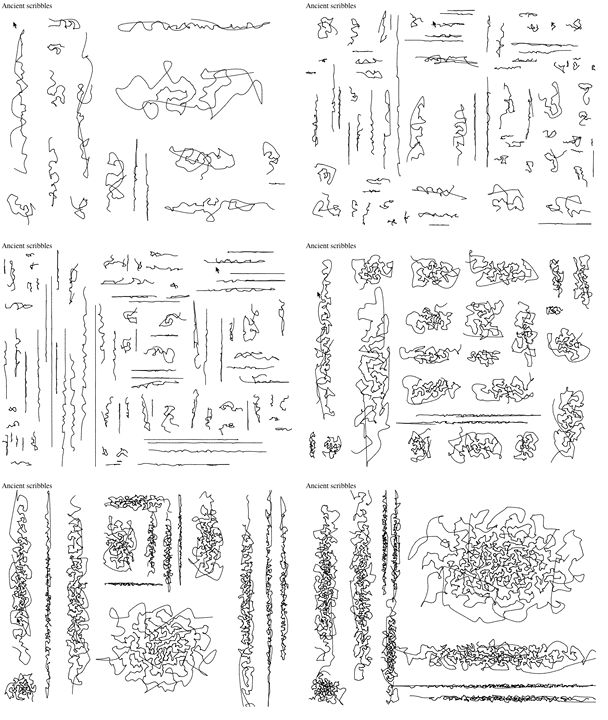
Evolution of a design
Presentation of the algorithm
When i started ancient scribble, I wanted to play with dichotomy and tree structure and see what I could do by myself and without external ideas.
General idea :
- Create recursively areas using dichotomy from the original canvas
- For each created area, sample N points based on the area of the rectangle
- Link the points using a greedy algorithms, skip the points to far away
- Smooth the junctions of points using chaikin curves
First tools to test configurations
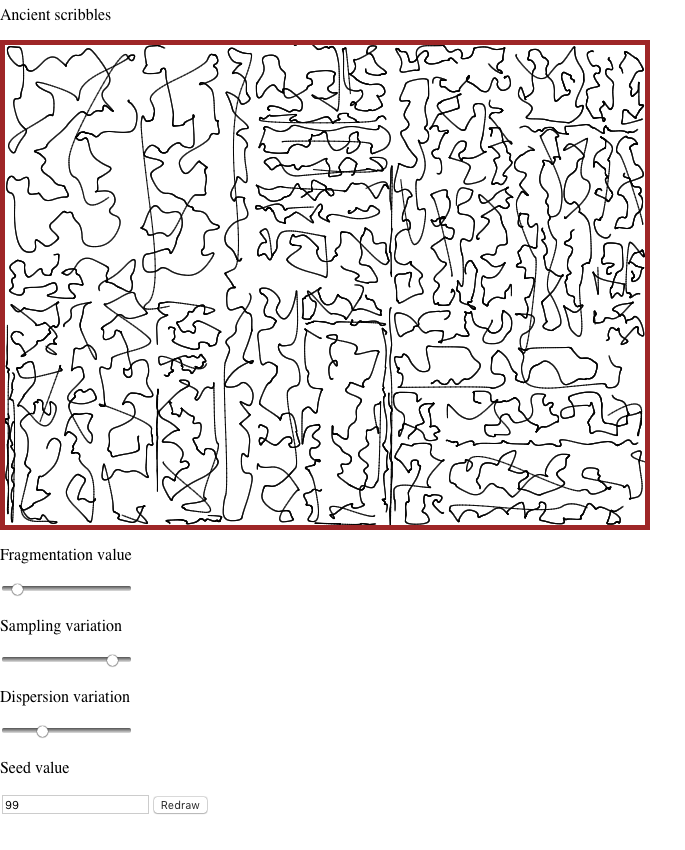
I started to add sliders to control parameters of the generation.

It worked correctly to test a variety of settings but this is not perfect.
- Changing parameters one by one is slow
- You need to define a good range of value for your slider
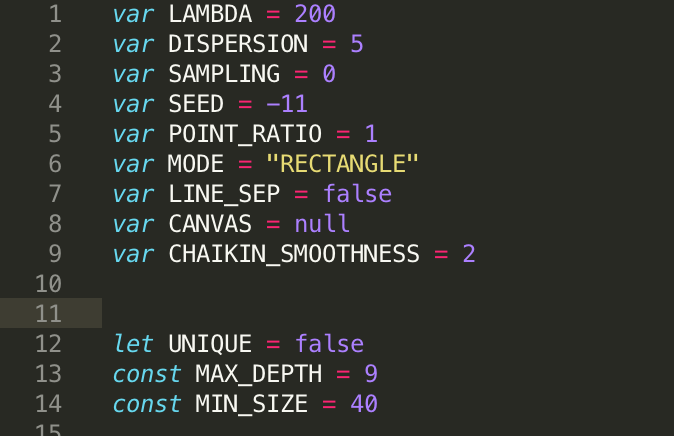
New features and the overflow of parameters
As i started to grow unsatisfied of the dull looking patterns, i tried to add more and more parameters to find a flavour valuable to my eye.

But after reusing the codebase after a few weeks it started to look crowded and difficult to use.
Using the mouse
After reading some examples from the Generative Design website, I realised that using the mouse instead of a slider made a lot of sense. Despite the fact that you can represent only two sliders with your mouse movement, these sliders are very precise and intuitive.
I removed all the sliders and explored which parameters were the most important for muy generation. I ended up creating a new parameter which provided much more interest : point density. Why ? While playing with the mouse, I could easily see that some parameters would bring very little variation between generation.

On top of that I added that a mouse click would change the seed and geenrate another graphic with the same set of parameters. It helps to assess if the parameter set is fine or if it’s just luck.
Miscellaneous
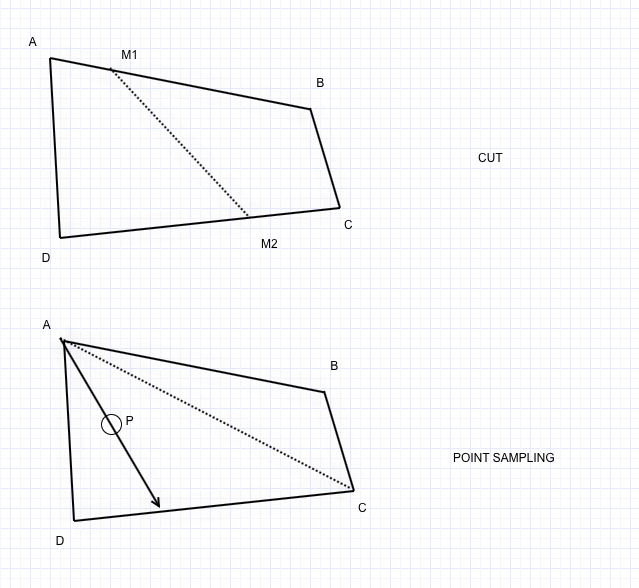
An algorithm for cutting a quadrilateral
A logical extension after handling rectangle was to have non straight cuts in the area. It is an extension of the general algorithm with quadrilaterals instead of rectangles.
Here is how the main steps are done :

Cut : The extension is easy, we just need two points instead of one. The side chosen depends on the type of cut sampled.
Sampling : There, things get more complicated. Sampling in 2D with a not orthogonal referential is non obvious. To solve it, i used a trick, consider the quadrilateral as 2 triangle and sample from one.
How can we sample from one triangle ?
- Consider one top of the triangle (A) and the segment opoosed to it (DC).
- Sample a point on the segment chosen
- Sample a point along the line (P) ….
Printing with AxiDraw
Short answer : use the svg version of p5.js
Things are a bit more complex in practice :
- Not all operators of p5.js are translated in the SVG version
- The size of the SVG can grow quickly. In my case, as I was drawing a lot of small line, I managed to reach SVG of 20Mb.